Electronics component library
October 13, 2026
The design process starts by placing components from the library on the canvas, either manually or with the agent. The components are then connected with wires, and the circuit can be simulated. The library contains ready-made parts from a range of categories, from boards and sensors to displays, motors and power parts.
In addition to the components in the library, the agent can create custom components. It relies on its internal knowledge of the part, or on a datasheet when one is provided, and writes the outline, the pins, the electrical limits and a small program that describes how the part behaves in simulation. This works well for unusual parts. For common ones like an Arduino Uno or a servo, a library component is the better choice. It comes preconfigured, so the agent is less likely to make a mistake, uses fewer tokens, and the part is the same in every project.
What is in the library
Components in the library are grouped into main categories. The categories are ordered by frequency of use.
- Controllers: Arduino Uno, Nano and Mega, ESP32 DevKit, Nano RP2040 Connect.
- Motors: servo, steppers, DC and gear motors, solenoid, fan.
- Modules: motor drivers (L298N, TB6612FNG, ULN2003), the PCA9685 16-channel servo driver, joystick, potentiometers, rotary encoder, RTC, SD card.
- Power: batteries, barrel jack, USB-C, regulators, buck and boost modules.
- Sensors: distance (HC-SR04), IMU (MPU6050), DHT22, PIR, gas, flame, sound, load cell.
- Switches: pushbuttons, slide and tilt switches, keypad, DIP switch.
- Basic parts: resistors, ceramic and electrolytic capacitors, diodes, NPN transistor (PN2222A), logic-level MOSFET (IRLB8721).
- LEDs and displays: LEDs, RGB LEDs, NeoPixels, 7-segment, LCD, OLED and TFT displays.
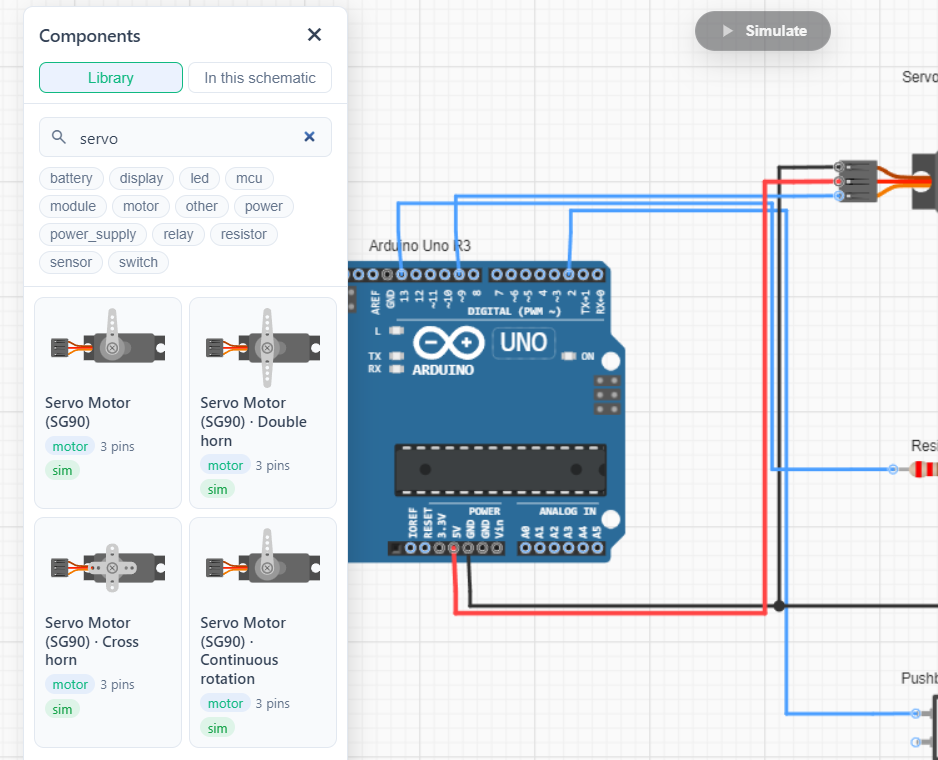
Components can be searched by name, part number or keyword, and filtered by category. Clicking one adds it to the middle of the canvas, and dragging adds it wherever it is dropped.
Variants and parameters
A component can be adjusted in two ways: by choosing a variant, or by changing its parameters.
Variants are versions of a component with a different shape, such as a servo with a single, double or cross horn, a 7-segment display with one or four digits, or a NEMA stepper in several sizes. A variant changes the outline or the pins that wires connect to, so each one is a separate entry in the library.
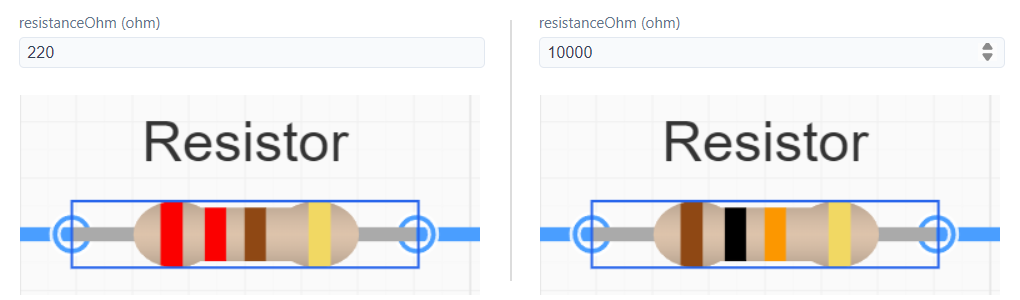
Parameters keep the pins the same and are shown when a component is selected on the canvas. Some change how the component looks, such as the colour of an LED or a servo horn. Others only affect the simulation, such as a servo's pulse range or an LED's forward voltage. A resistor's value does both: it sets the resistance, and the colour bands follow it, so a 220 Ω resistor shows red, red, brown, and a 10 kΩ one shows brown, black, orange.
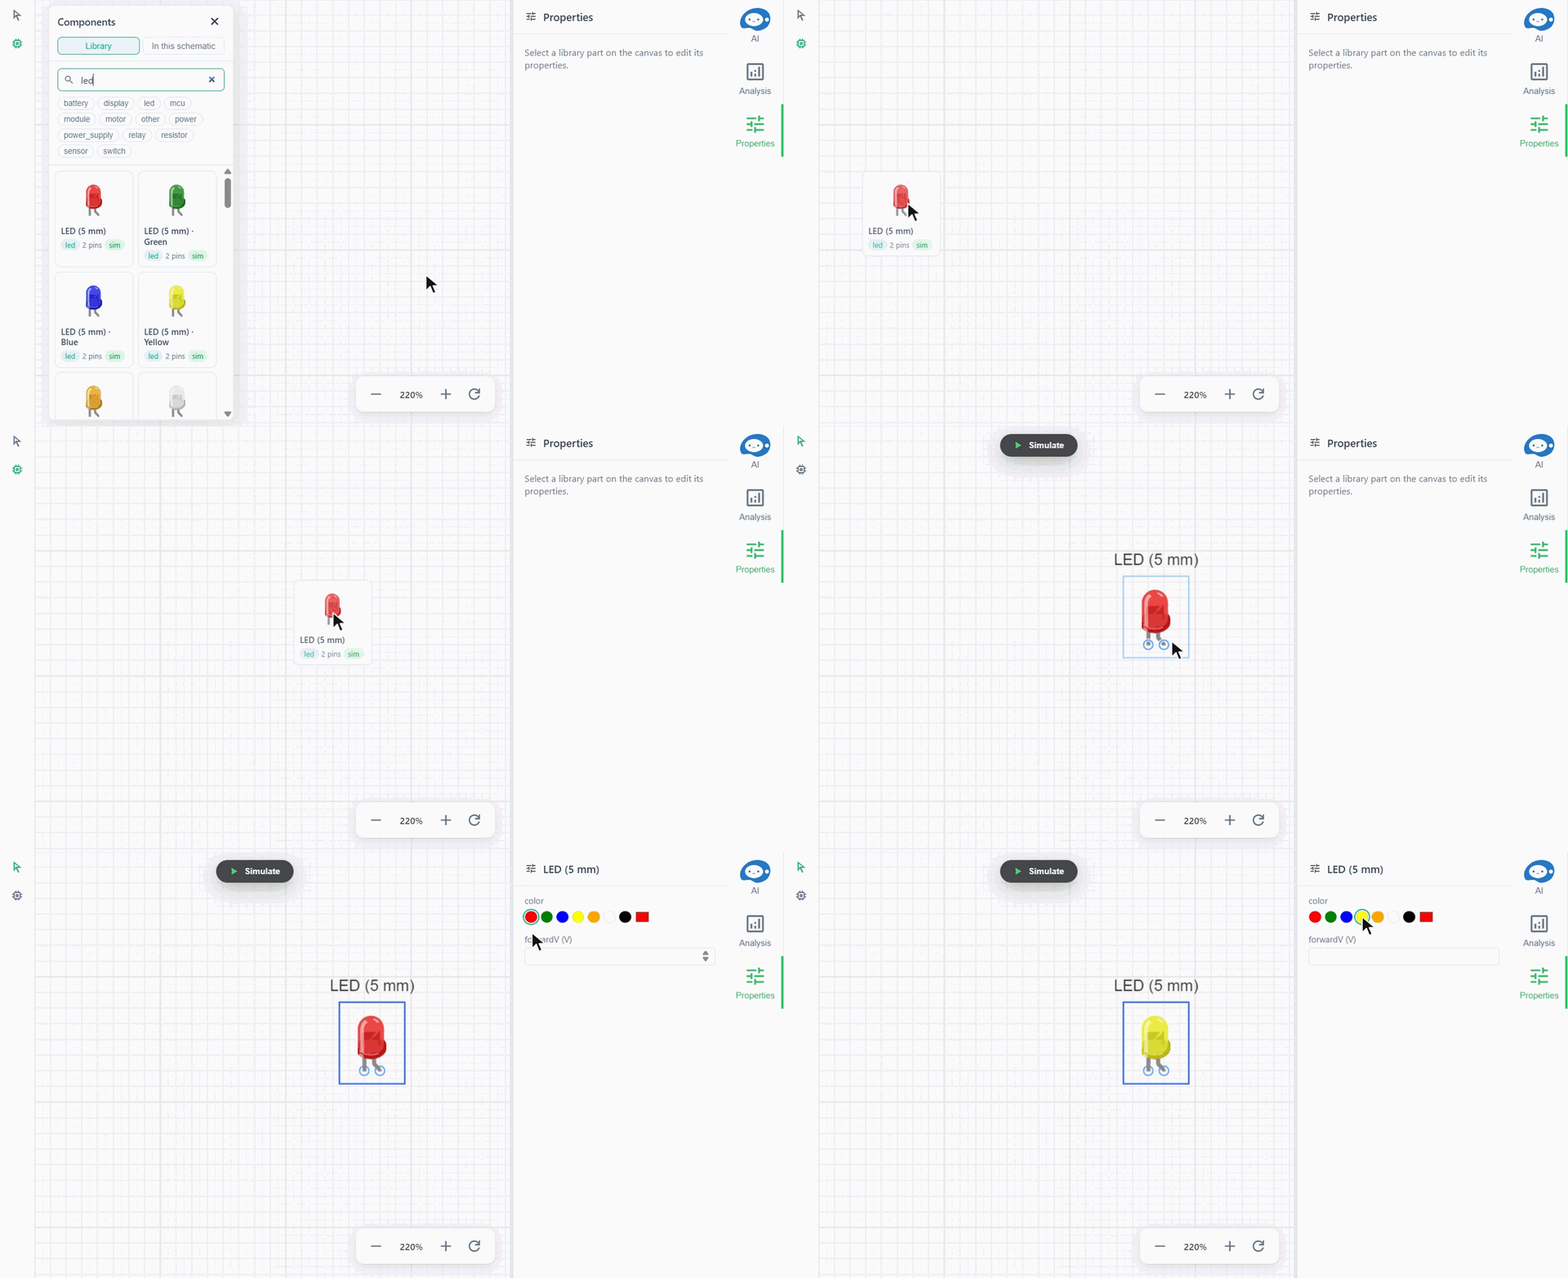
A parameter only applies to the component it was changed on. Two red LEDs share one definition, and if one of them is switched to green it gets its own, while the other stays red.
What a library component includes
Once added, a library component works like any other component in the schematic. It can be wired, moved, simulated and exported. What sets it apart is what it comes with:
- SVG artwork. Each component is drawn as an SVG modelled on the real part. Moving parts are drawn as separate layers, so a servo horn turns and an LED lights up during simulation.
- Accurate pin positions. Components are drawn in millimetres and placed on the schematic grid, where one grid step is 2.54 mm, the standard spacing of header pins. The pins on an Arduino header therefore sit exactly one grid step apart.
- Wires that reach the pin. Some pins sit inside the outline of a component, such as the header holes on a board or the legs of an LED. Wires connect straight to them rather than stopping at the edge.
- Simulation behaviour for most components. It is the same kind of program the agent writes for custom components (see circuit simulation), but written once for the library. Resistors and capacitors need no program, since the simulator handles them directly.
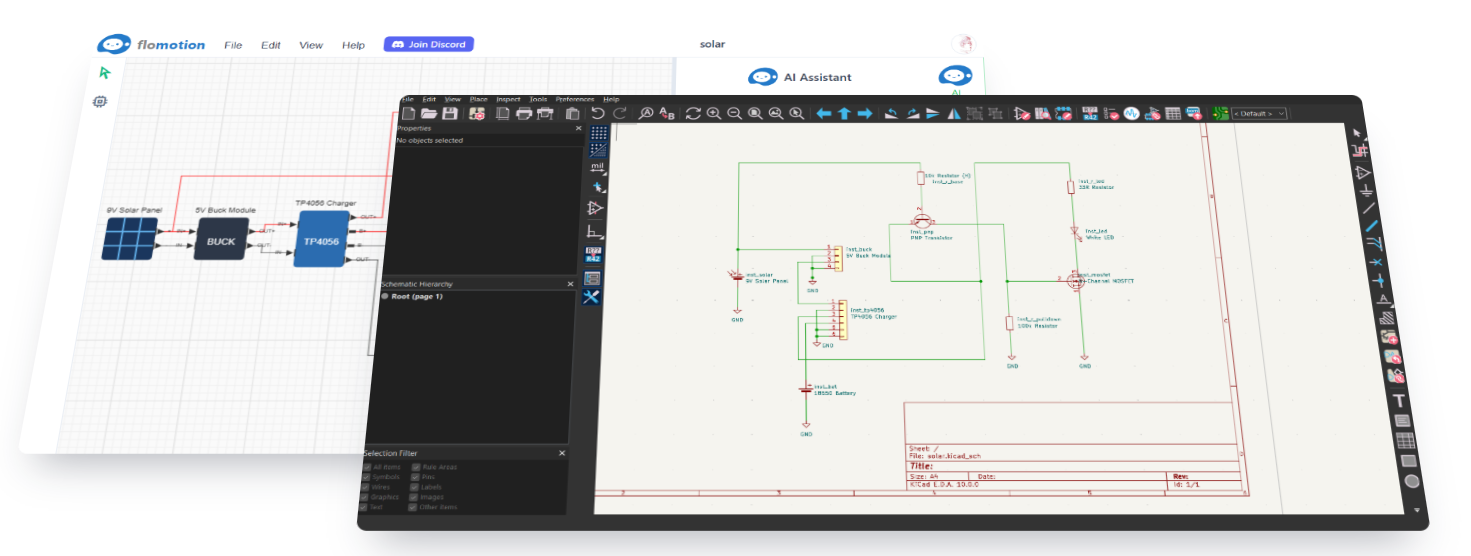
- A KiCad symbol link. It points to a symbol in the standard KiCad library and maps the pins to it, for KiCad export.
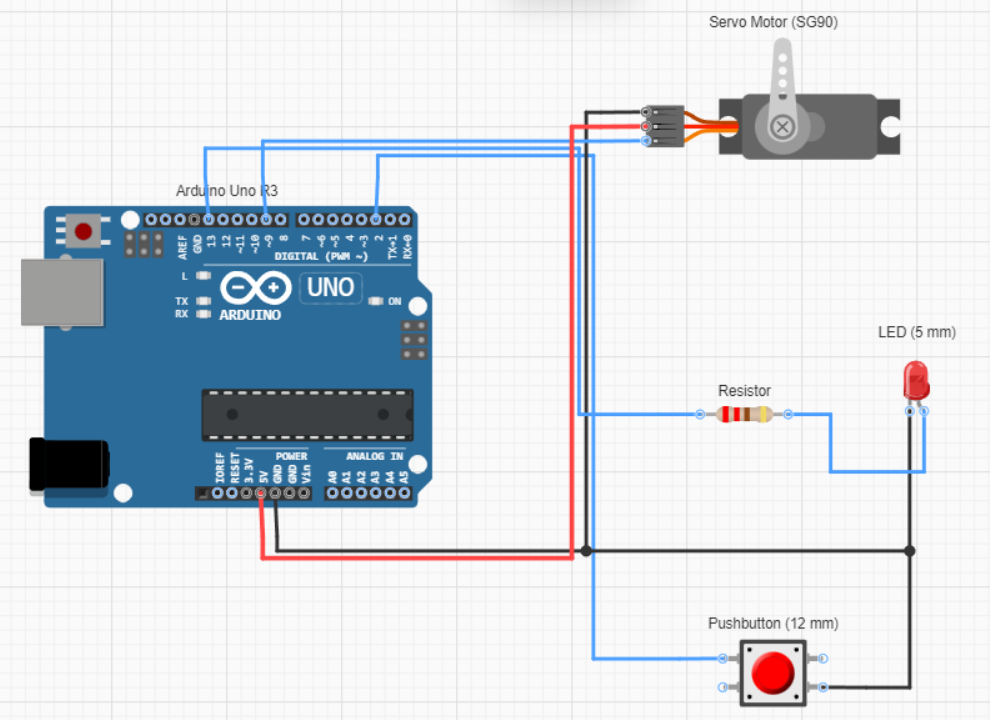
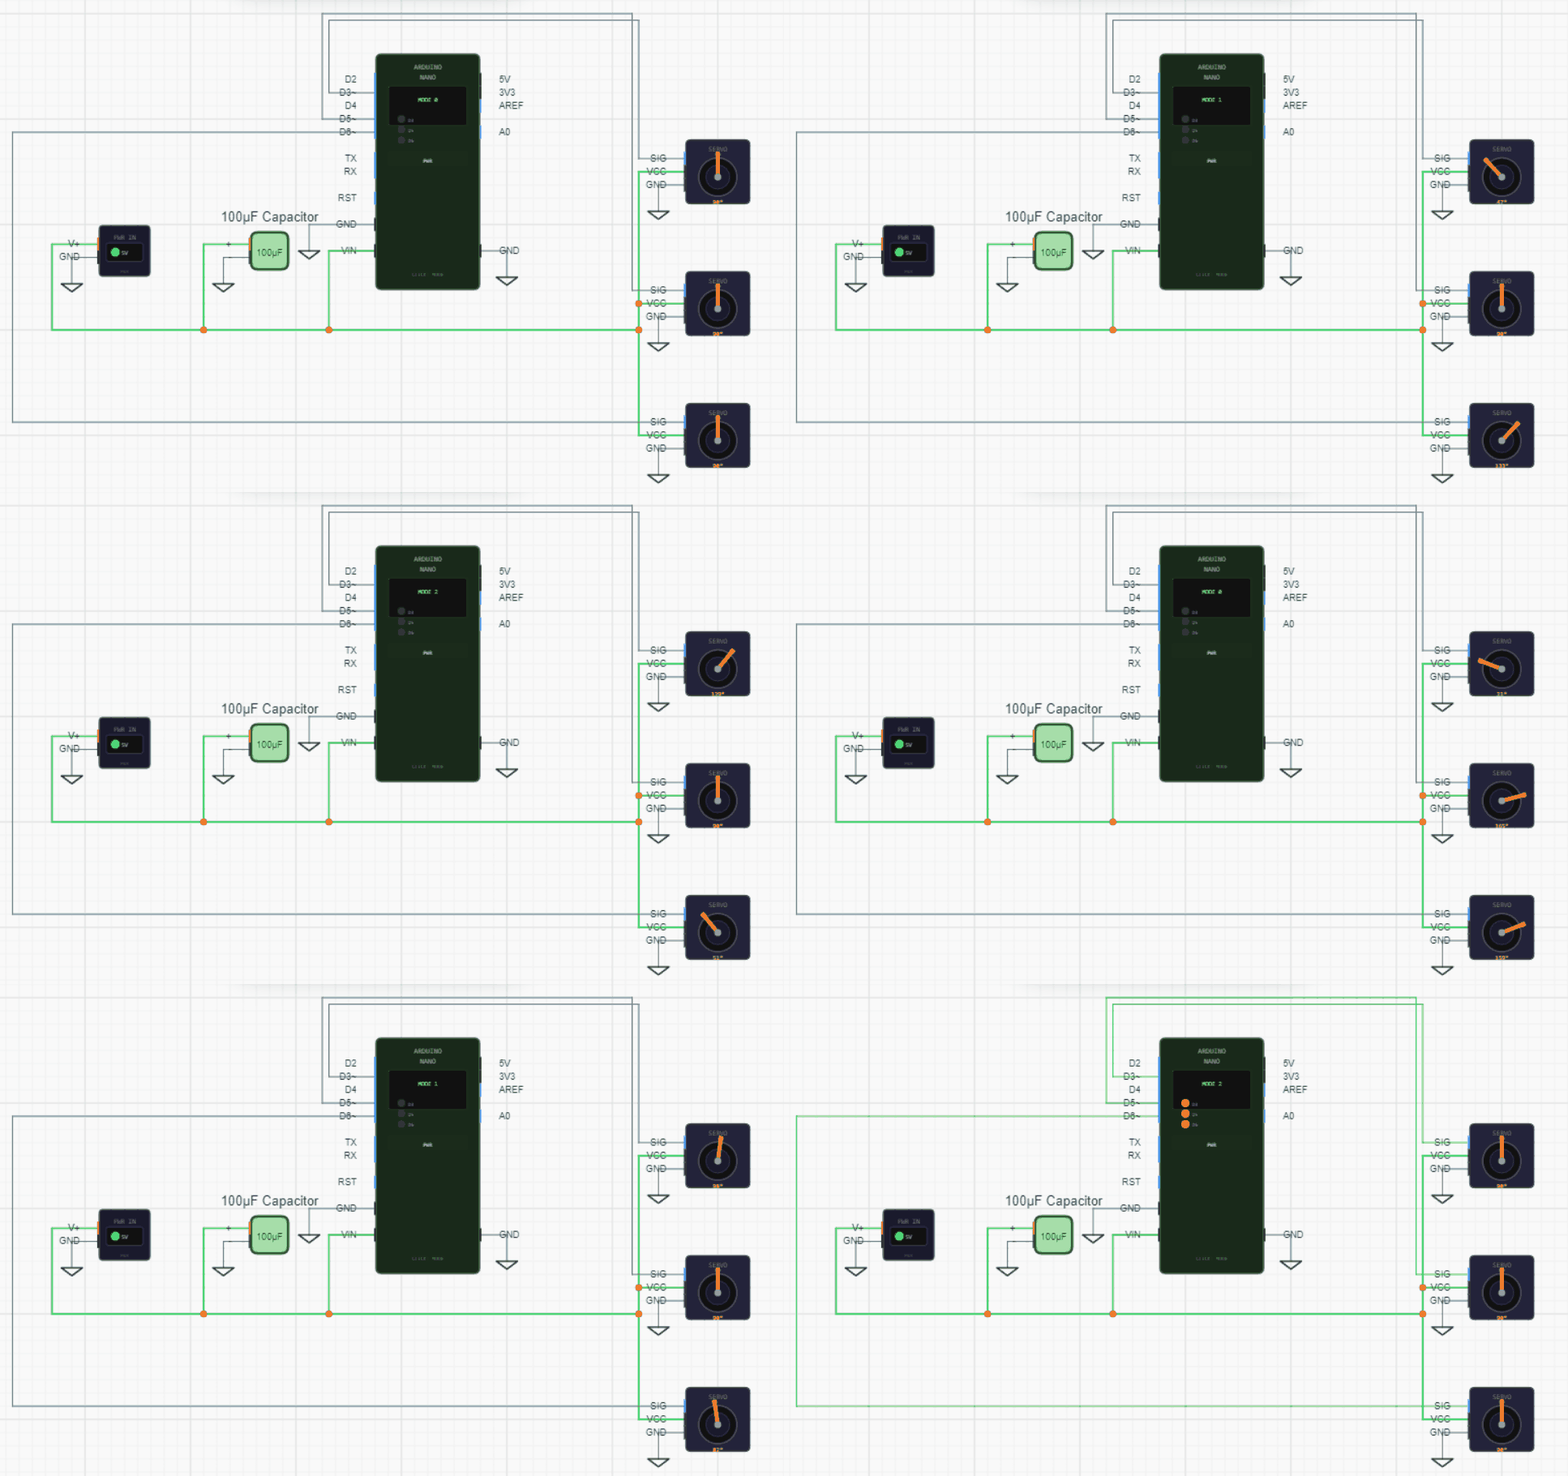
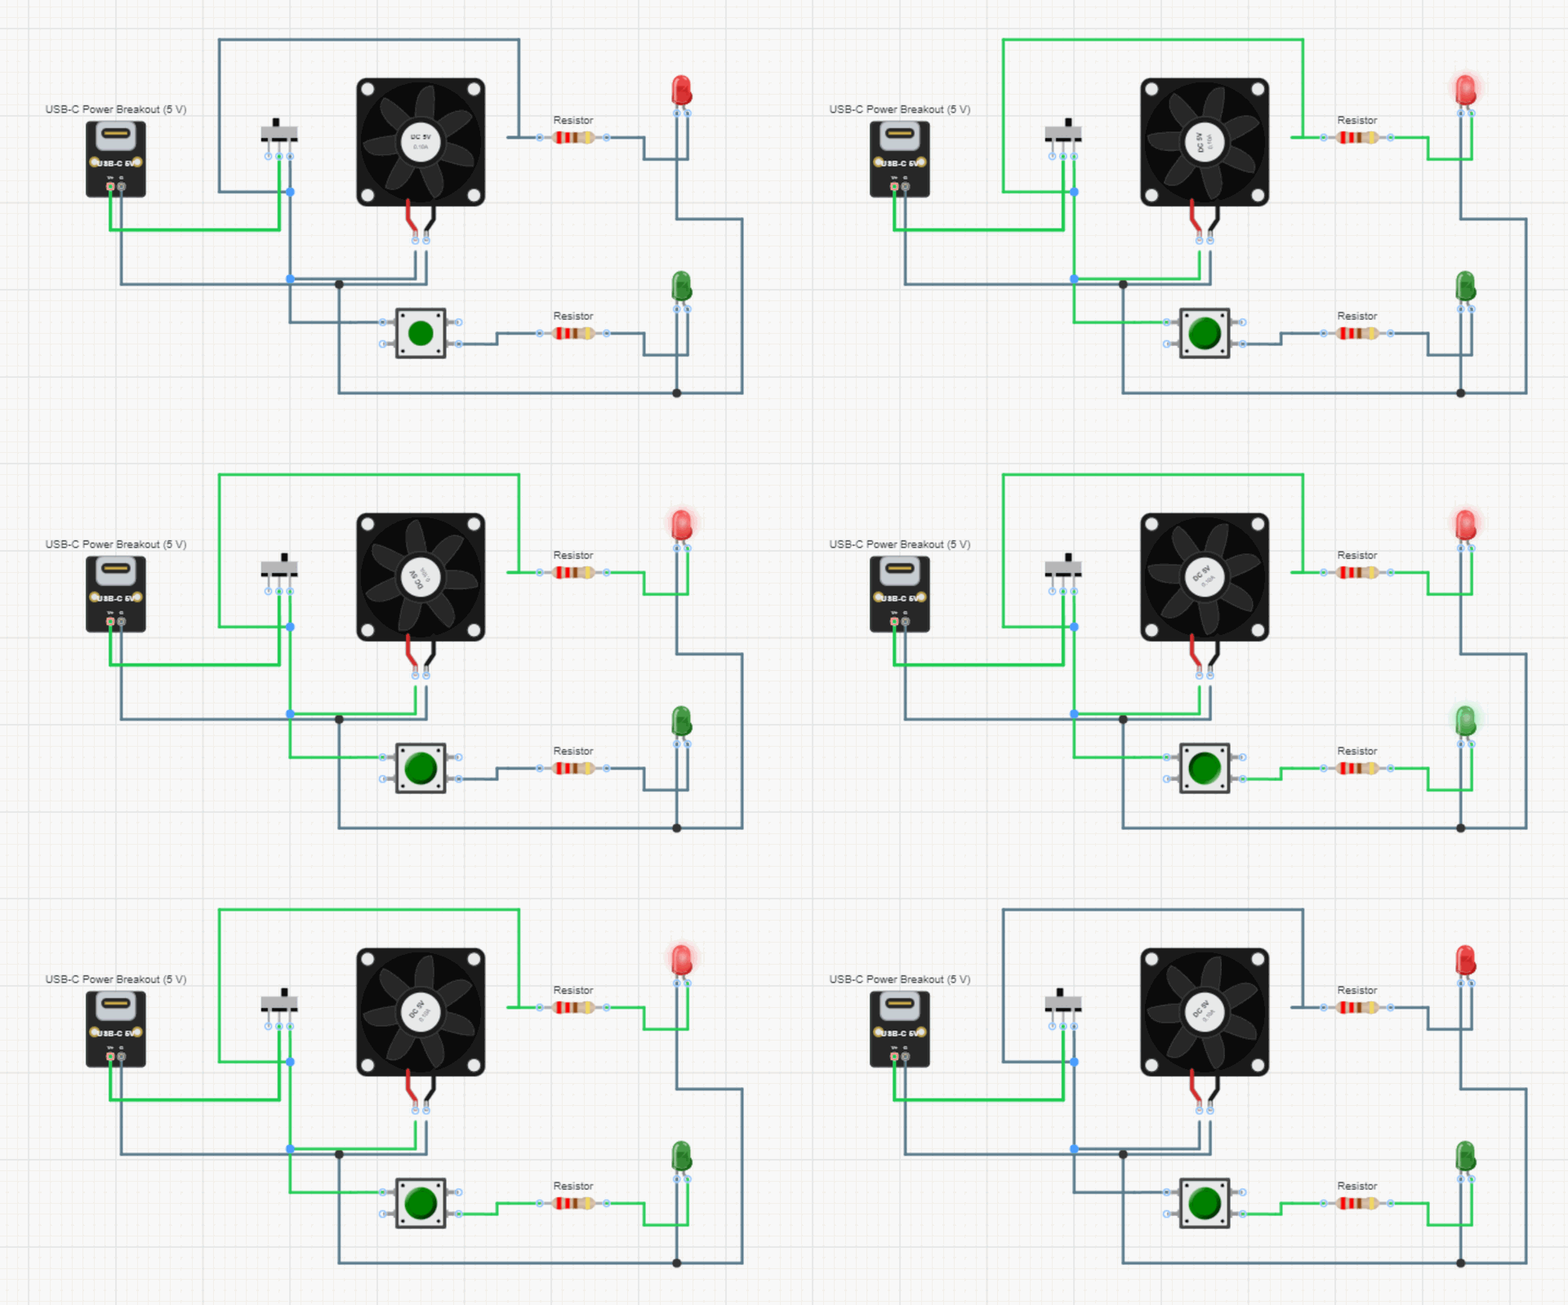
The circuit below is built entirely from library components, and none of its behaviour was written for this project. The fan speeds up and slows down by itself, and the switch and button respond to clicks.
Library updates
A component added from the library keeps a link to it. As long as the copy in the schematic is unchanged, it stays in step with the library, and any fix to the library component reaches the schematic the next time it is opened.
If the copy is changed, for example when the agent adjusts its pins or its behaviour for one project, it keeps those changes and stops following the library. Reload from library in the component's menu discards the changes and restores the library version.
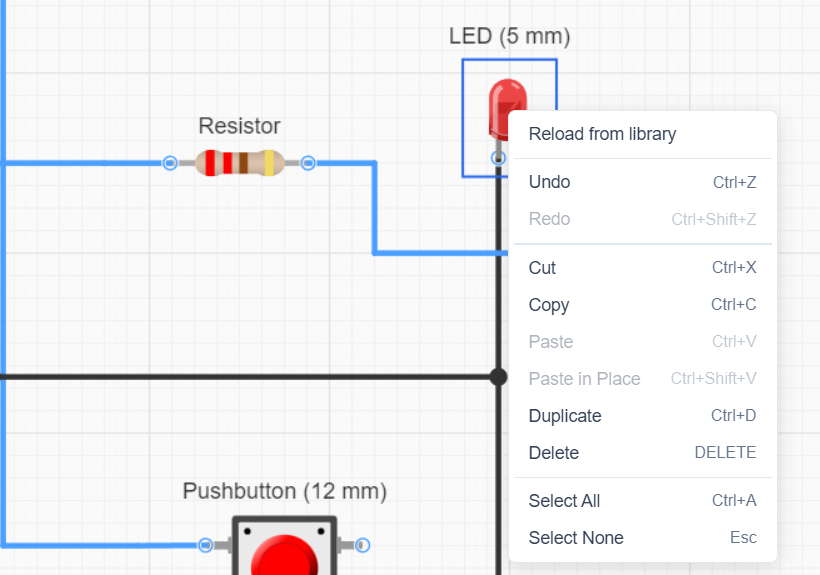
Adding a component that the schematic already contains, unchanged and with the same parameters, reuses the existing copy. A changed copy is never reused, so adding that component again brings in a fresh copy from the library.
When the last instance of an unchanged library component is deleted, its copy is removed from the schematic as well, and adding it again later brings in the current library version. Undo restores the deleted component exactly as it was.
How the agent uses the library
The agent has access to the same library. When asked for a circuit, it looks there first and uses library components wherever they fit, and only creates a custom component when nothing in the library matches. Since library components come with their pins and behaviour already set up, the agent can focus on the circuit itself.
The agent can also adjust a library component when a project needs something different, such as an extra pin or different behaviour. That copy then counts as changed, as described above, and can be reloaded from the library later.
Library components make some mistakes less likely, such as pins in the wrong place, the wrong pin order on a header, or behaviour that does not match the real part. They do not make the circuit itself correct. The agent can still connect the wrong pin, leave out a resistor or choose a part that does not suit the job, so running the simulation and reading through the circuit before building it is still worthwhile.
Limits
- The library is small compared with the range of parts available. Anything not in it is created by the agent as a custom component.
- Simulated components follow their datasheet, not every detail of the real device. A simulated sensor gives sensible readings, without the noise and drift of a real one.
Summary
The component library holds ready-made parts that are drawn like the real thing, have their pins on the schematic grid and, for most of them, come with simulation behaviour. Schematics built manually and by the agent use the same library, which keeps common parts consistent across projects and leaves custom components for the parts it does not cover.
Links
- Wokwi Elements, the MIT licensed source of the artwork for many of the components. The batteries, power modules, motors, driver boards and basic parts were drawn separately.
- KiCad symbol libraries, the standard symbols that library components link to for export.
Try it yourself
Open the workspace, describe a part, and see what the agent does with it. No install, no setup. Sign-in is optional for the first run.
Start building